> ## Documentation Index
> Fetch the complete documentation index at: https://developer-docs.fnlb.net/llms.txt
> Use this file to discover all available pages before exploring further.
# OAuth2 Authentication
> Implement secure delegated access to FNLB resources using OAuth2.
FNLB uses OAuth2 to allow third-party applications to access user data and control bots without requiring the user's password.
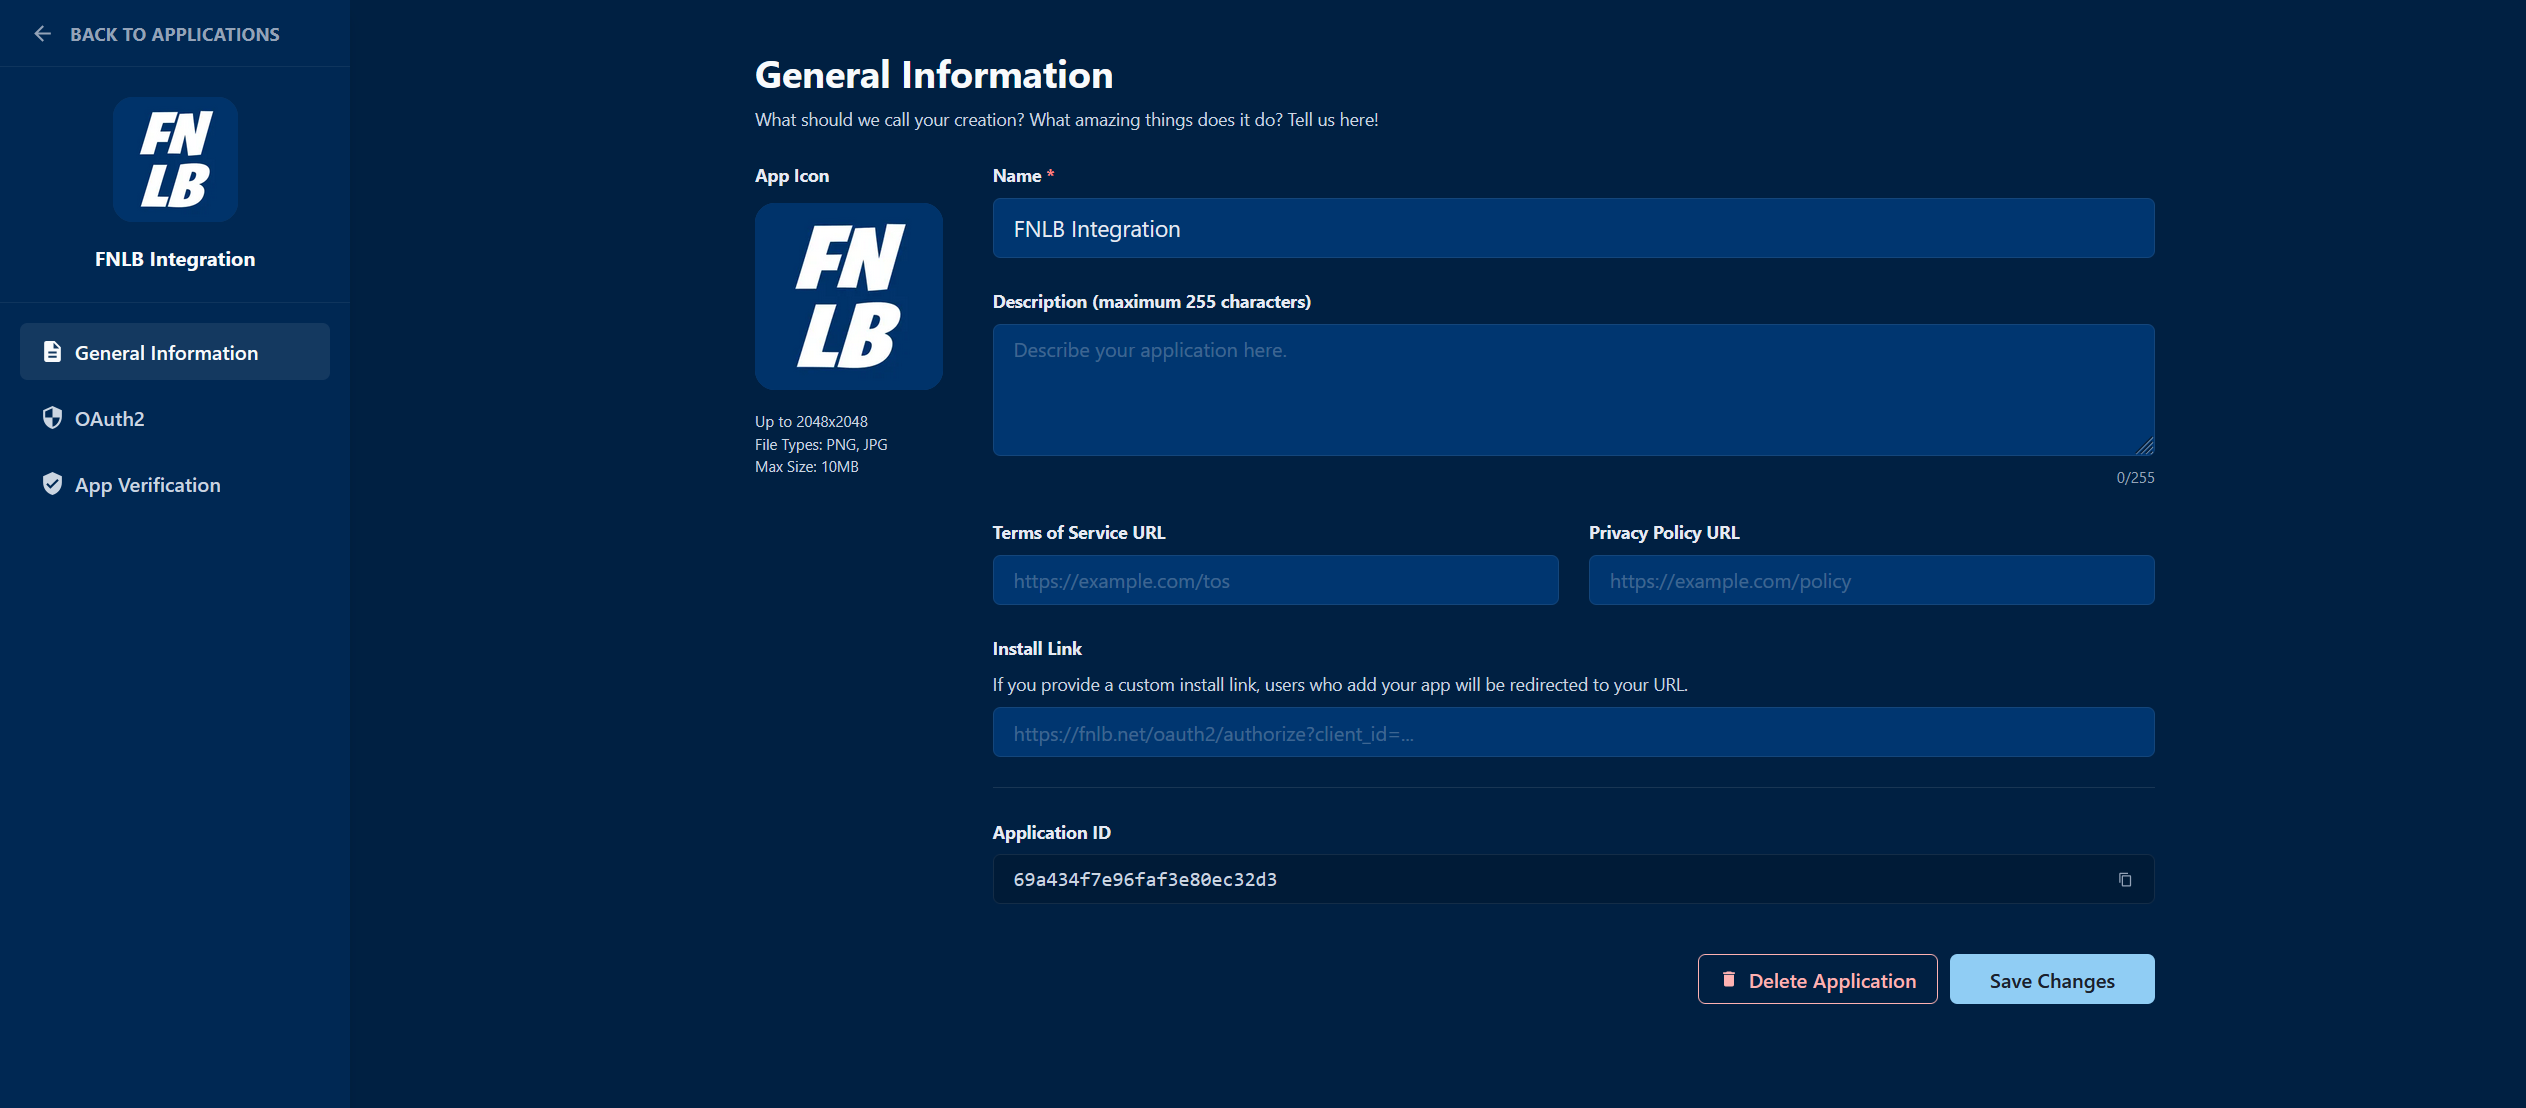
## Creating an OAuth2 Application
1. Go to the [Developer Portal](https://developers.fnlb.net/)
2. Click on "Create Application"
3. Fill in the name
4. Click on "Create"
5. Copy the Client ID and Client Secret
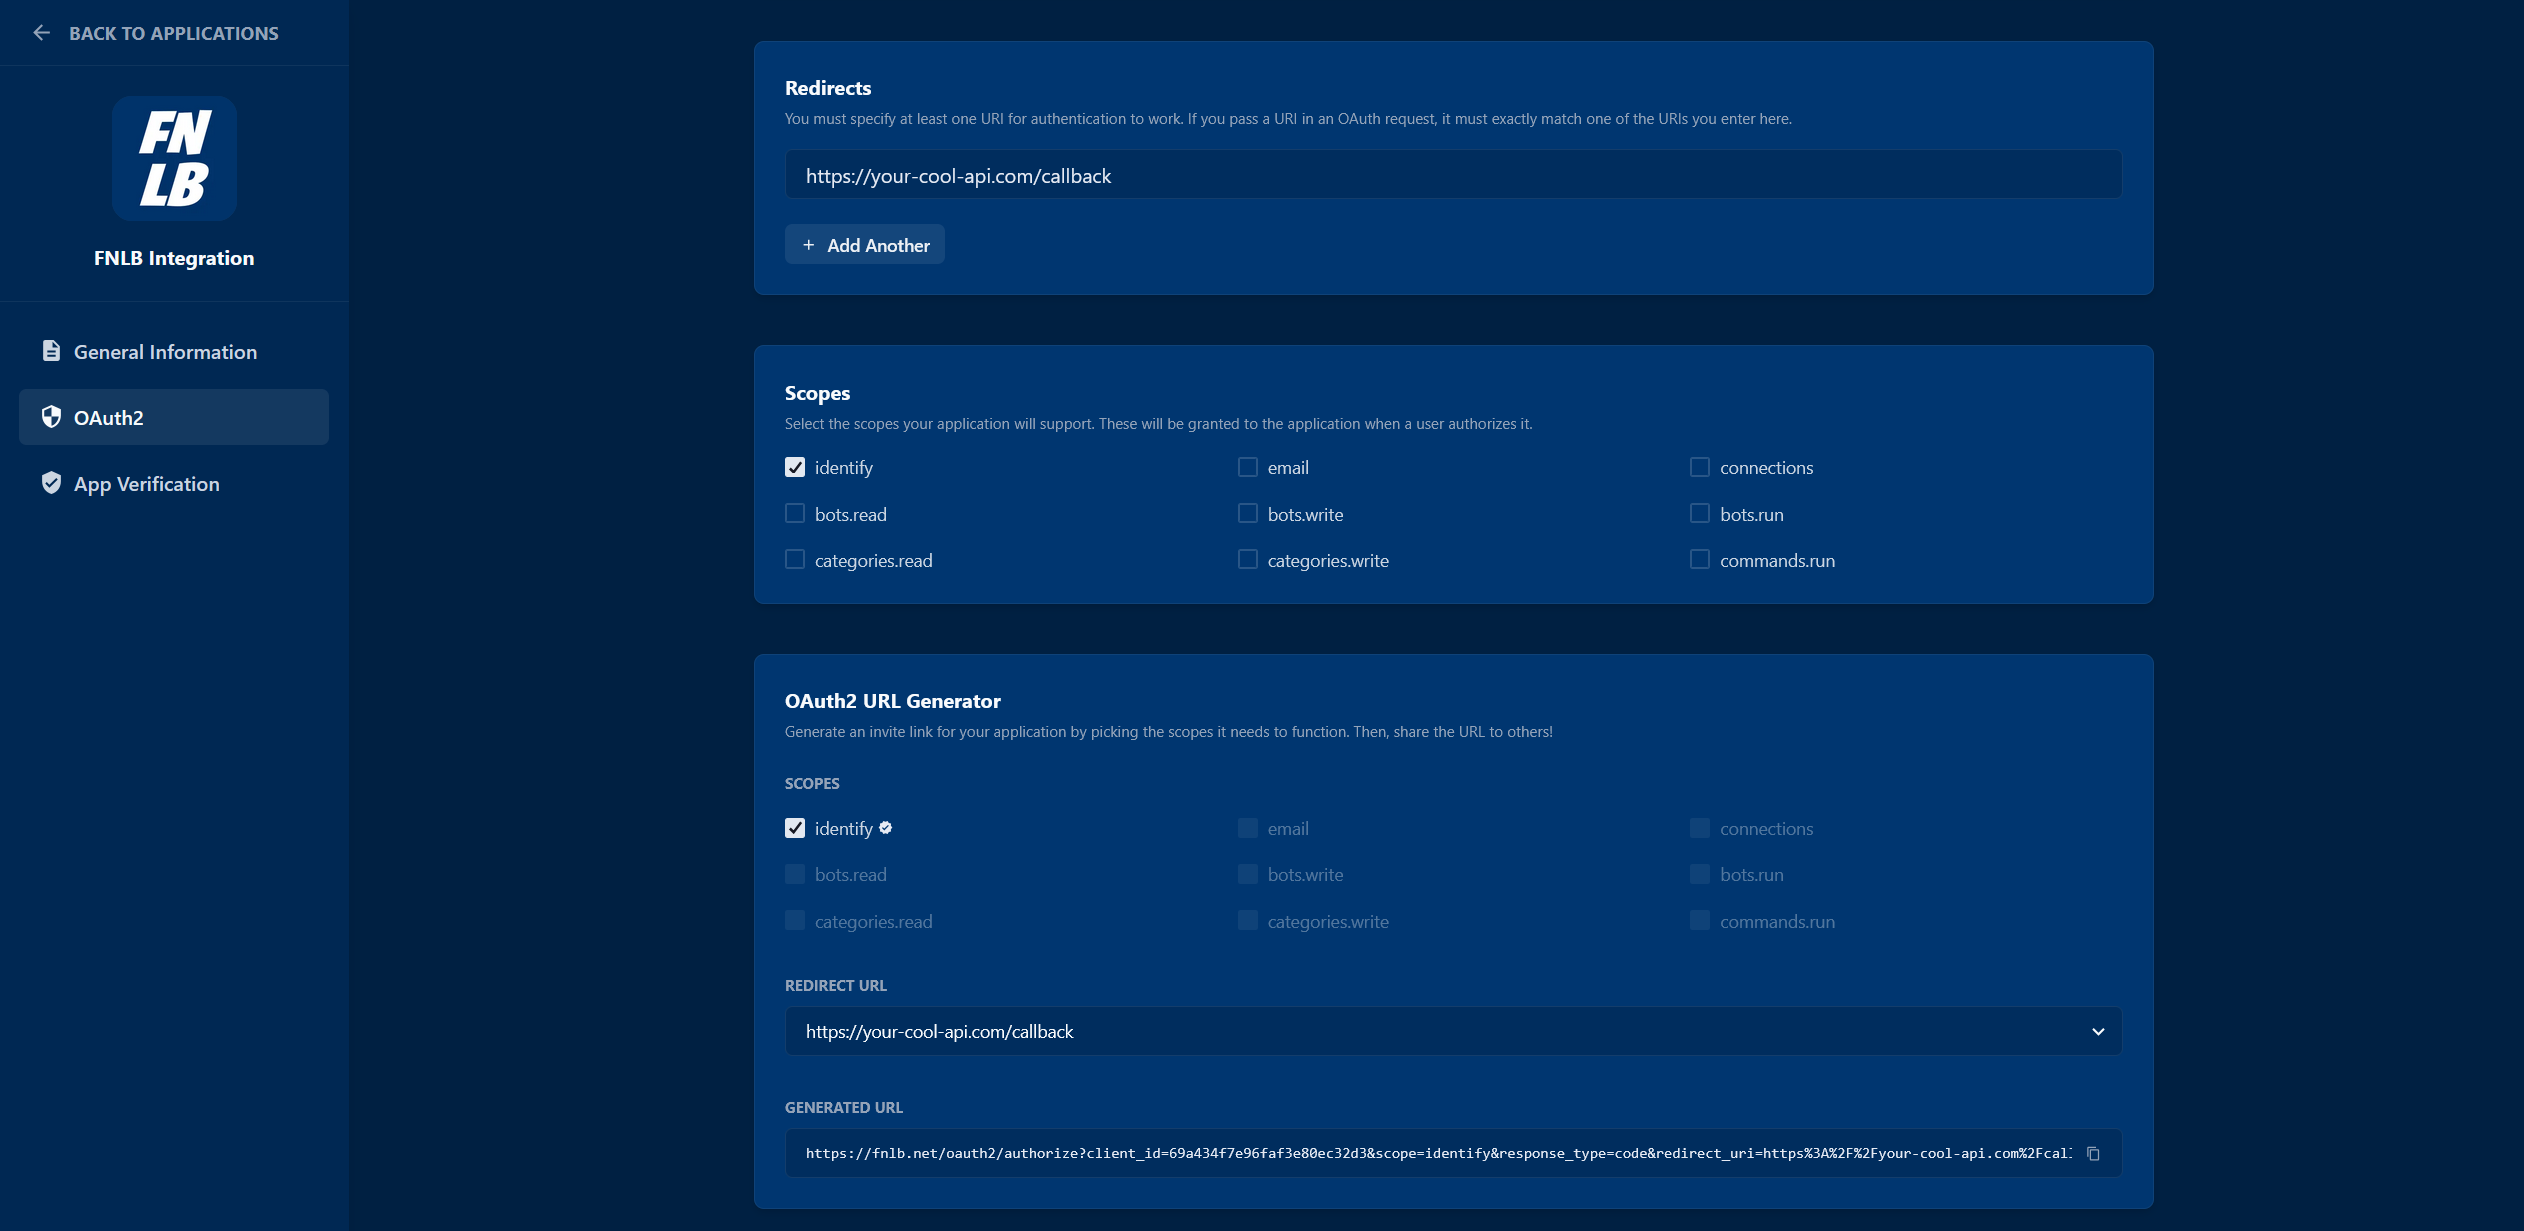
6. Go to OAuth2 and add your Redirect URIs
FNLB OAuth2 Application
FNLB OAuth2 Tab
## The OAuth2 Flow
FNLB supports the **Authorization Code Grant** flow, which is the most secure way for server-side applications to authenticate.
### 1. Authorization Request
Redirect the user to the FNLB authorization endpoint. You can generate one using the [FNLB OAuth2 URL Generator](https://developers.fnlb.net).
```http theme={null}
https://fnlb.net/oauth2/authorize?response_type=code&client_id=CLIENT_ID&redirect_uri=REDIRECT_URI&scope=SCOPE&state=STATE
```
| Parameter | Description |
| :------------- | :-------------------------------------------------------------- |
| `client_id` | Your application's Client ID from the Developer Portal. |
| `redirect_uri` | One of your pre-configured Redirect URIs. |
| `scope` | A space-separated list of [scopes](#scopes) you are requesting. |
| `state` | A random string to prevent CSRF attacks. |
### 2. User Approval
The user will be prompted to log in (if not already) and authorize your application. Upon approval, they will be redirected back to your `redirect_uri` with a `code` parameter.
### 3. Token Exchange
Exchange the authorization code for an access token by making a POST request to:
```http theme={null}
POST https://api.fnlb.net/oauth2/token
Content-Type: application/x-www-form-urlencoded
grant_type=authorization_code&code=AUTHORIZATION_CODE&client_id=CLIENT_ID&client_secret=CLIENT_SECRET&redirect_uri=REDIRECT_URI
```
**Successful Response**:
```json theme={null}
{
"access_token": "FNLBOA2AT_...",
"token_type": "Bearer",
"scope": "identify bots.read"
}
```
### 4. Accessing Resources
Use the returned `access_token` in the `Authorization` header of your API requests. The `Bearer` prefix is optional:
```http theme={null}
Authorization: Bearer YOUR_ACCESS_TOKEN
```
***
## Scopes
Scopes define the level of access your application has.
| Scope | Description |
| :----------------- | :------------------------------------------------------------------------ |
| `identify` | Access the user's basic profile details (e.g., ID, username, flags). |
| `email` | Access the user's email address. |
| `connections` | Access the user's linked third-party connections. |
| `bots.read` | View the user's bots and their associated metadata. |
| `bots.write` | Create, update, or permanently delete the user's bots and their settings. |
| `bots.run` | Start and stop bots programmatically using the self-hosting SDK. |
| `categories.read` | View the user's categories and their config. |
| `categories.write` | Create, update, or delete categories and their config. |
| `commands.run` | Run bot commands on behalf of the user. |
# Next Steps
Learn how to use the FNLB API.