> ## Documentation Index
> Fetch the complete documentation index at: https://developer-docs.fnlb.net/llms.txt
> Use this file to discover all available pages before exploring further.
# Developer Portal
> The central hub for FNLB developers to manage applications.
The [FNLB Developer Portal](https://developers.fnlb.net/) is the primary interface for developers to manage their integrations with the FNLB ecosystem.
## Getting Started
To access the developer portal, log in with your FNLB account. If you don't have one, you can sign up at [fnlb.net](https://fnlb.net/).
## Key Features
### Application Management
Create and configure multiple applications to interact with the FNLB API. Each application can have its own:
* **Client ID & Client Secret**: Used for OAuth2 authentication.
* **Redirect URIs**: Authorized endpoints for receiving authorization codes.
* **Scopes**: Define the level of access your application has to user data.
## Create Application
1. Navigate to the [Developer Portal](https://developers.fnlb.net/).
2. Click the **"Create Application"** button.
3. Enter a descriptive name for your application.
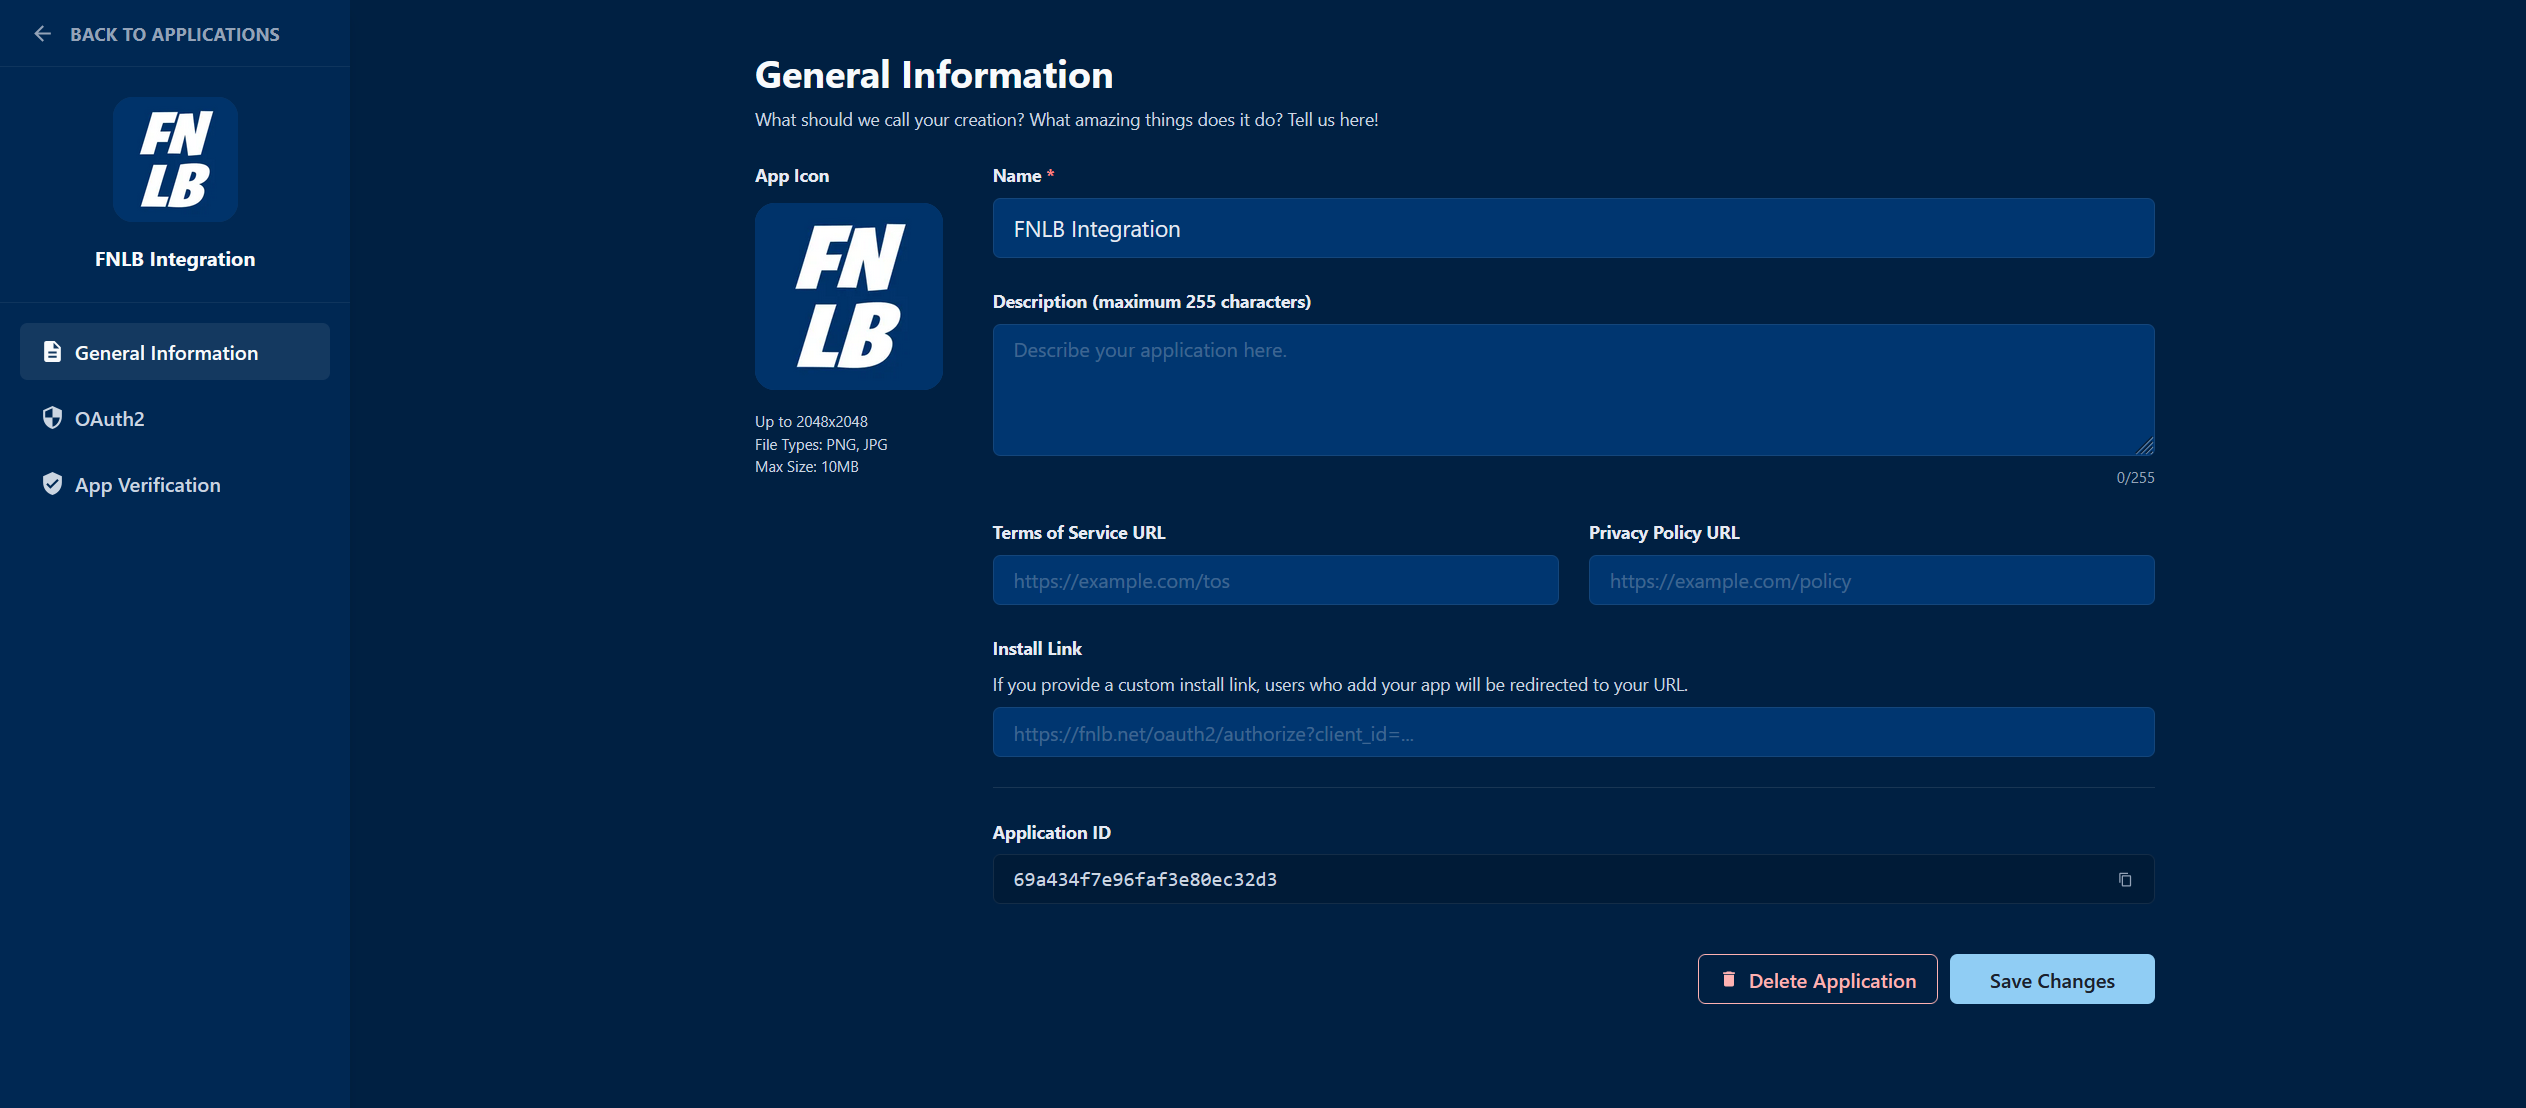
4. Once created, you will be redirected to the application settings.
5. Copy your **Client ID** and **Client Secret**. Keep the secret safe!
6. Configure your **Redirect URIs** in the OAuth2 tab to authorize specific endpoints.
***
## Security Best Practices
* **Protect your Client Secret**: Never share it or commit it to public repositories. Use environment variables to store it securely.
* **Use HTTPS**: Always use secure HTTPS endpoints for your redirect URIs to prevent interception.
* **Principle of Least Privilege**: Only request the specific scopes required for your application to function.
* **Rotate Secrets**: If you suspect your Client Secret has been compromised, reset it immediately in the Developer Portal.
***
## Next Steps
Learn how to implement OAuth2 for your applications.